"Oh no! Something has gone wrong" on Kali - How I Fixed It
Steps I used to fix the common Kali Linux boot crash after an upgrade.
The Problem: Kali Linux Boot Failure After Upgrade
It's been a while since I did an upgrade on my Kali Linux system, so I decided to run sudo apt-get update && sudo apt-get upgrade. I was prompted to restart some services, which I did. After that, I restarted my laptop to finalize the changes, but I was met with the dreaded "Oh no! Something has gone wrong" error.
After the upgrade, I was prompted to restart some services, which I did. I then restarted my laptop to finalize the changes, only to run into the dreaded:
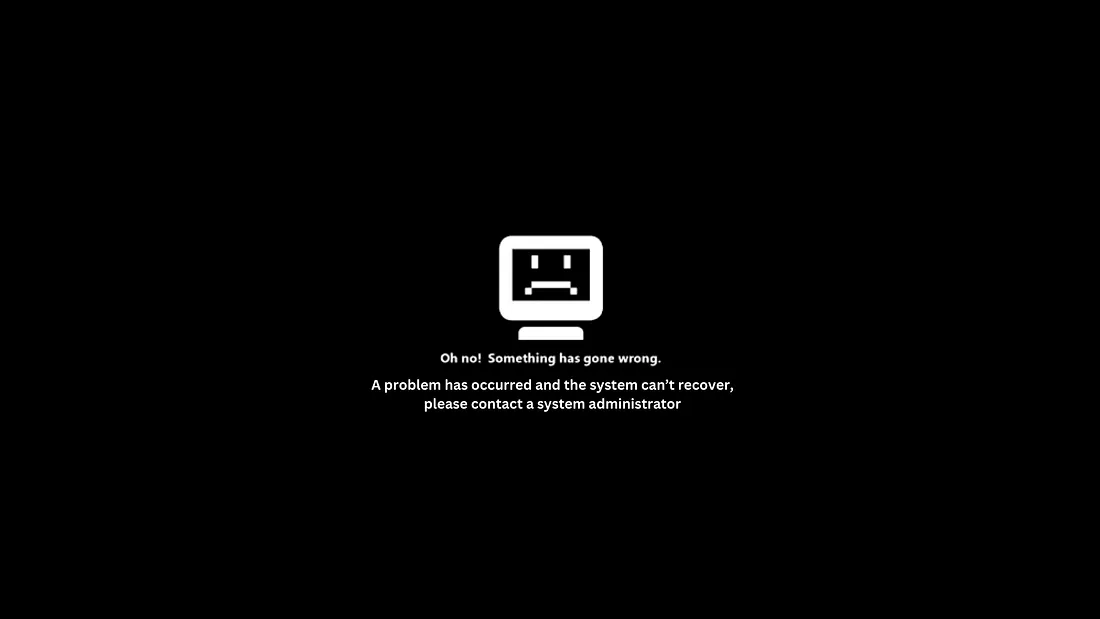
"Oh no! Something has gone wrong. A problem has occurred and the system can't recover, please contact a system administrator."
It's quite frustrating that there is little to no detailed information on how to solve this issue online, as many Linux communities assume users are already experts. After 4 hours of research and troubleshooting, I managed to fix the issue on my machine. Here's how I did it—hopefully, it helps you too!
Prerequisites
Before we begin, ensure you have:
- An active Wi-Fi network or mobile hotspot available
- Make sure the network name is simple (avoid special characters)
- Turn on the Wi-Fi or hotspot before continuing
- Basic familiarity with terminal commands
Step-by-Step Solution
Step 1: Boot into Recovery Mode
Reboot your laptop into recovery mode. You'll be asked for your root password. If you're unsure how to boot into recovery or reset the root password, search for guides specific to Kali or any Debian distro.
# During boot, hold Shift or Esc to access GRUB menu
# Select "Advanced options for Kali GNU/Linux"
# Choose "Recovery mode"
Step 2: Start the Network Manager
Once in recovery mode with root access, start the network manager:
sudo systemctl start NetworkManagerStep 3: Verify Network Manager Status
Check if the Network Manager is running properly:
sudo systemctl status NetworkManagerYou should see "active (running)" in the output.
Step 4: Find Available Wi-Fi Networks
Scan for available Wi-Fi networks:
nmcli dev wifiIdentify the network you want to connect to from the list.
Step 5: Connect to the Wi-Fi Network
Connect to your chosen network:
nmcli dev wifi connect SSID password PASSWORDReplace SSID with your network name and PASSWORD with your Wi-Fi password.
Step 6: Verify Network Connection
Check the connection status:
nmcli dev statusStep 7: Test Internet Connectivity
Ensure you have internet access:
ping -c 4 google.comIf packets are being transmitted and received, your connection is working properly.
Step 8: Fix System Issues
Now run these commands one by one to fix the system issues:
sudo apt update --fix-missing
sudo dpkg --configure -a
sudo apt clean
sudo apt update --fix-missing
sudo apt install -f
sudo dpkg --configure -a
sudo apt upgrade
sudo apt dist-upgrade
Note: I personally didn't run sudo apt dist-upgrade, but it's recommended that you do to ensure all dependencies are properly resolved.
Step 9: Restart Services
If you're prompted to restart services during the upgrade process:
- Use the spacebar to select all services
- Navigate with arrow keys
- Press Enter to confirm
Step 10: Reboot the System
Finally, reboot your system:
sudo systemctl rebootConclusion
After following these steps, my Kali Linux system booted normally. The issue was primarily resolved by ensuring network connectivity and properly fixing package dependencies.